
My mom is a pie whisperer! Her pies are amazing and are always in high demand at any gathering. I’ve avoided making her pies mainly because I’ve deemed pie as a “bad food” for so long. All the sugar, the flour, the shorting… bad foods. But I’m continuing to break free from the restrictive food lists and today that meant giving my mom’s pie recipe a try!
I have SUCH great memories of watching my mom make pies and of course eating them! One of my favorite things to eat when I was little was her pie dough. When I was in elementary school I actually learned how to make the pie dough just so I could eat it (without actually learning how to make the whole pie). I knew I wanted to learn how to make her pie when my husband had his first slice of my mom’s apple pie and literally picked up the plate and licked it clean.
So here we go! Check out my journey as I (try to) follow my mom’s amazing directions to bake my first pie! Let me give credit where credit is due and start by saying you can download my mom’s FULL recipe and intricate directions here.
First, assemble the filling!

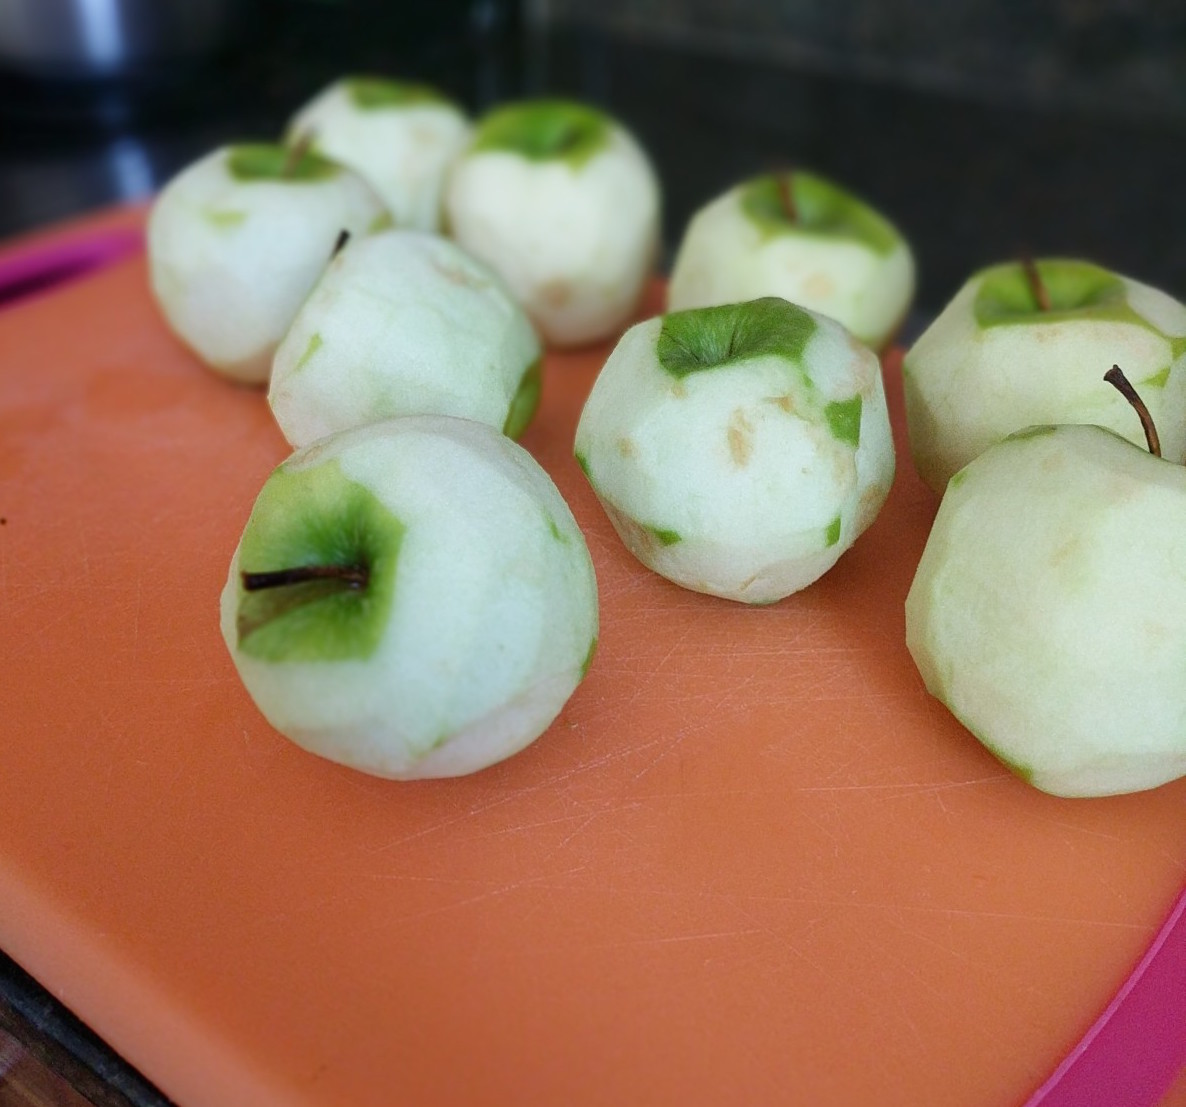
Wash and peel the apples.
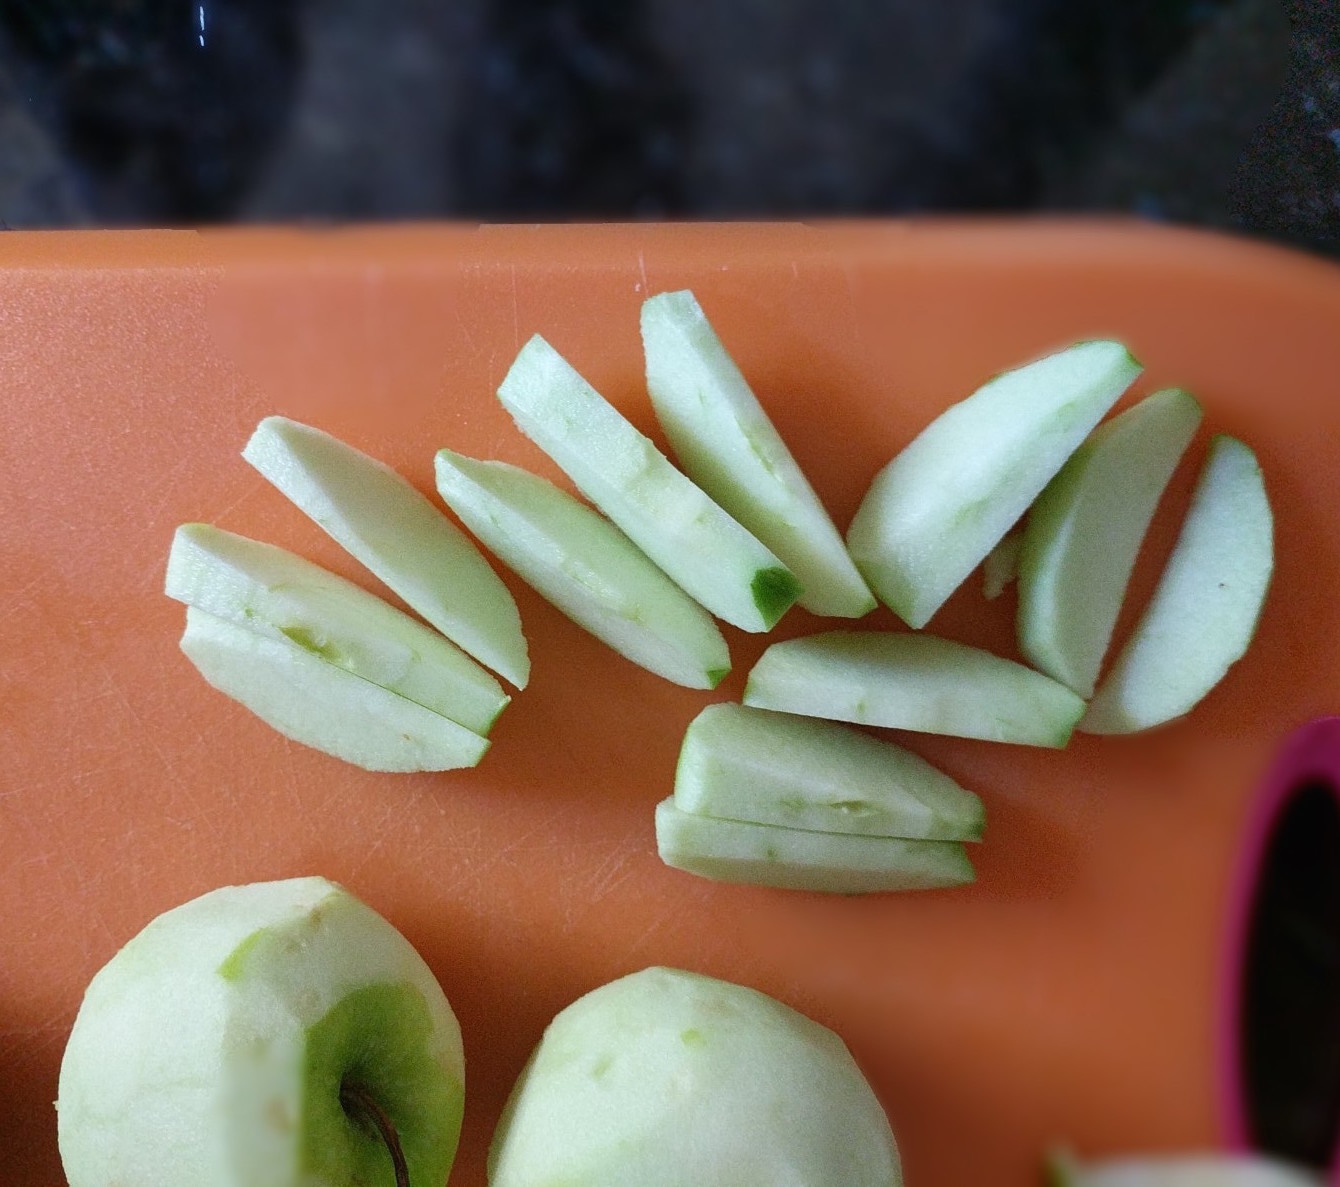
Then core and slice them. I cut each apple in half, then quarters, then cored them, then cut each quarter into 3 slices.
Next, mix the sugar, cinnamon, nutmeg, and tapioca together. Keep separate from the apples.

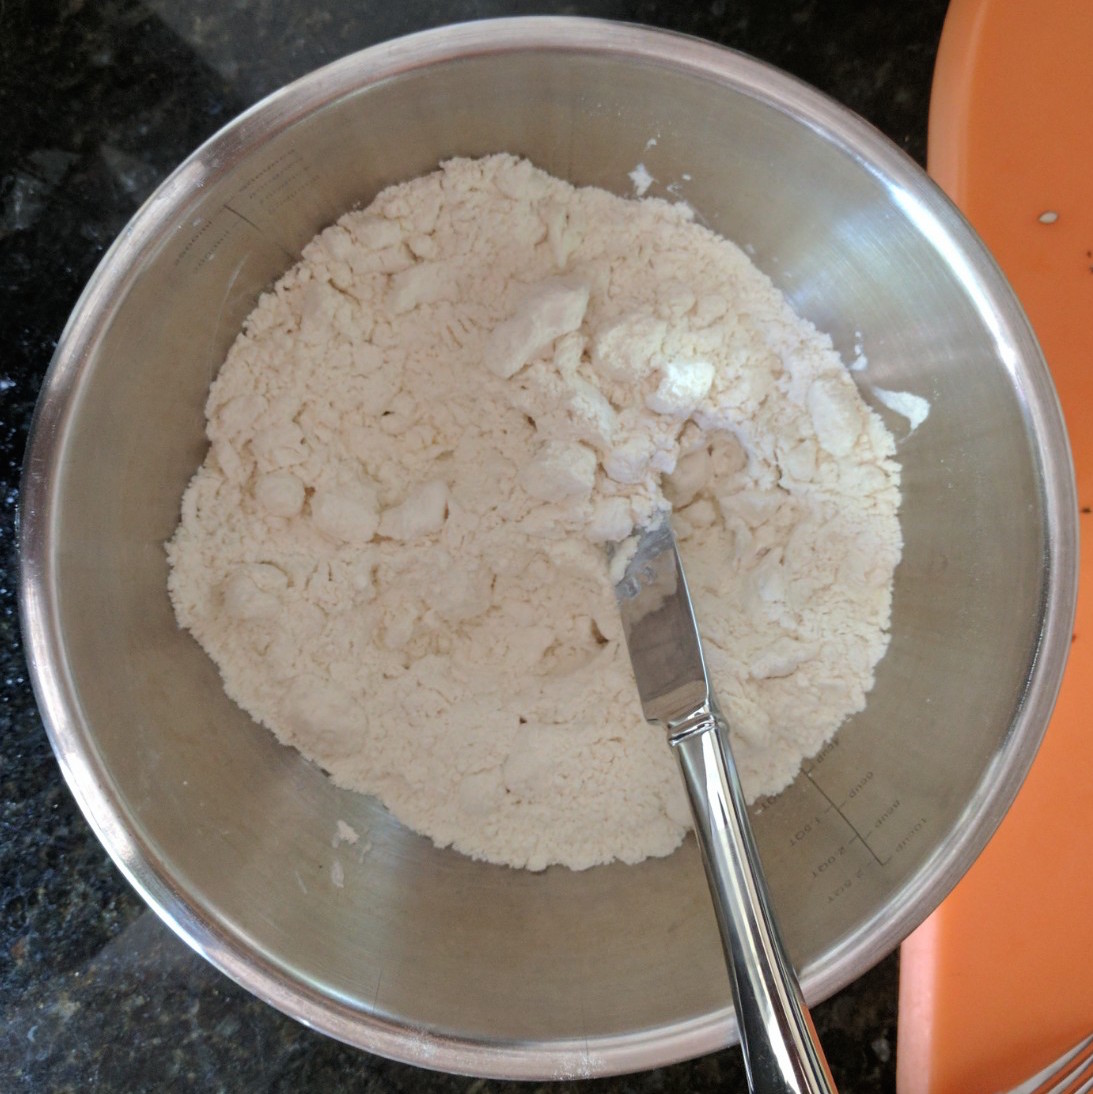
Put all of this to the side and get busy with the pie dough! (Cue childhood memories!). Start by mixing the flour and salt together.

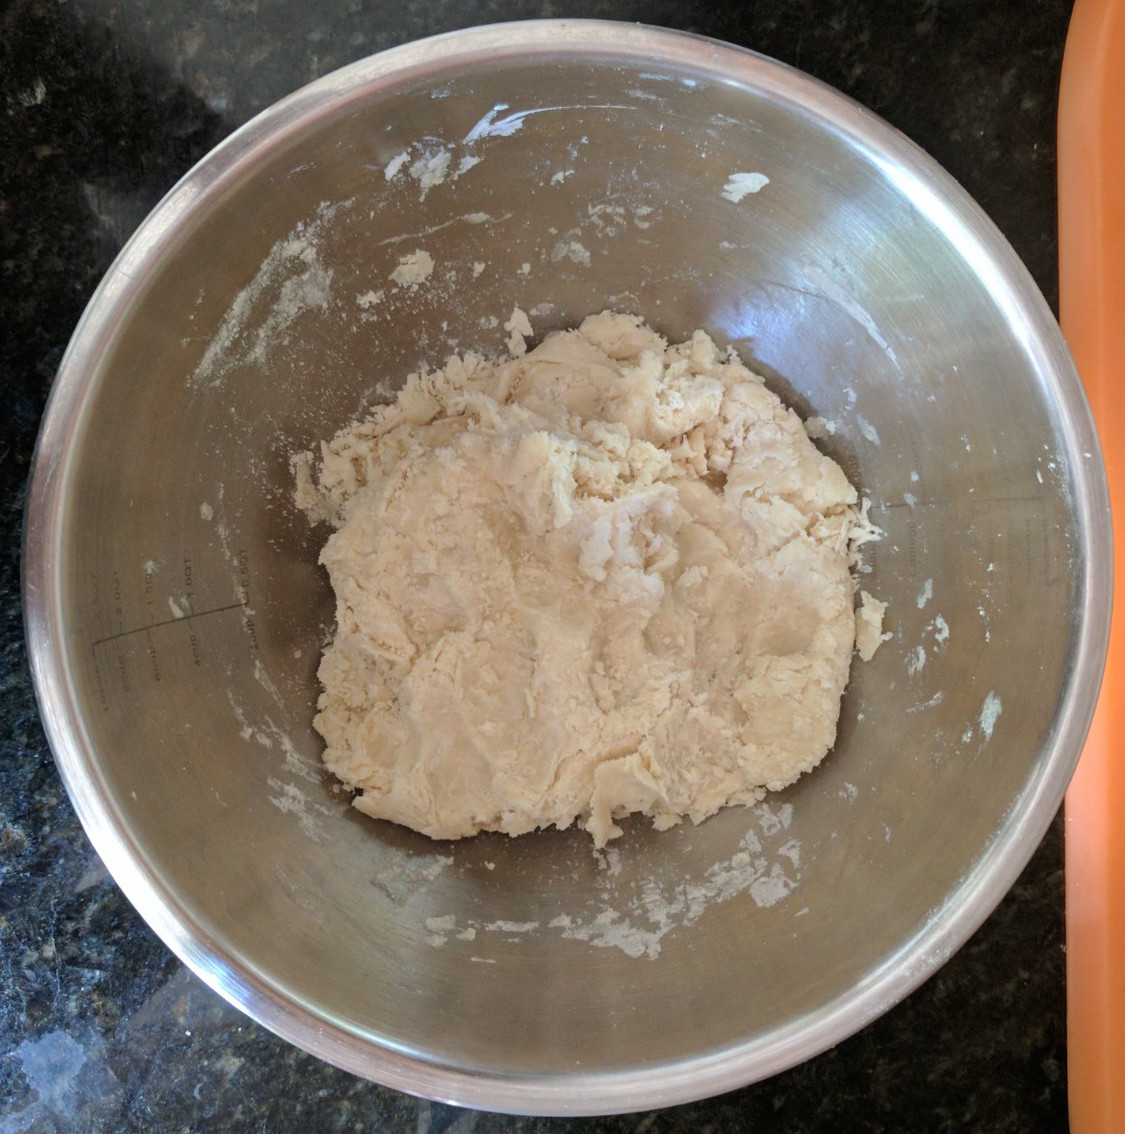
Add in the shortening and cut it with a knife, not mashing or mixing. Mom tip: do not over-cut – you should see “chunks” of shortening/butter – that is great- about size of a penny or
dime.
Add the water one tablespoon at a time with a fork. Mom tip: Add water until all flour is moistened and dough almost cleans the side of the bowl. I needed to add 6 tablespoons of water to reach the right consistency.
Gather dough into a ball and split it into two even sized balls (one for bottom crust and one for top). Flatten one ball on a lightly floured cutting board. Here is where my mom’s genius really shines (or maybe it’s well known, but I have never seen it)… cover the ball with SARAN WRAP then roll!

Genius!
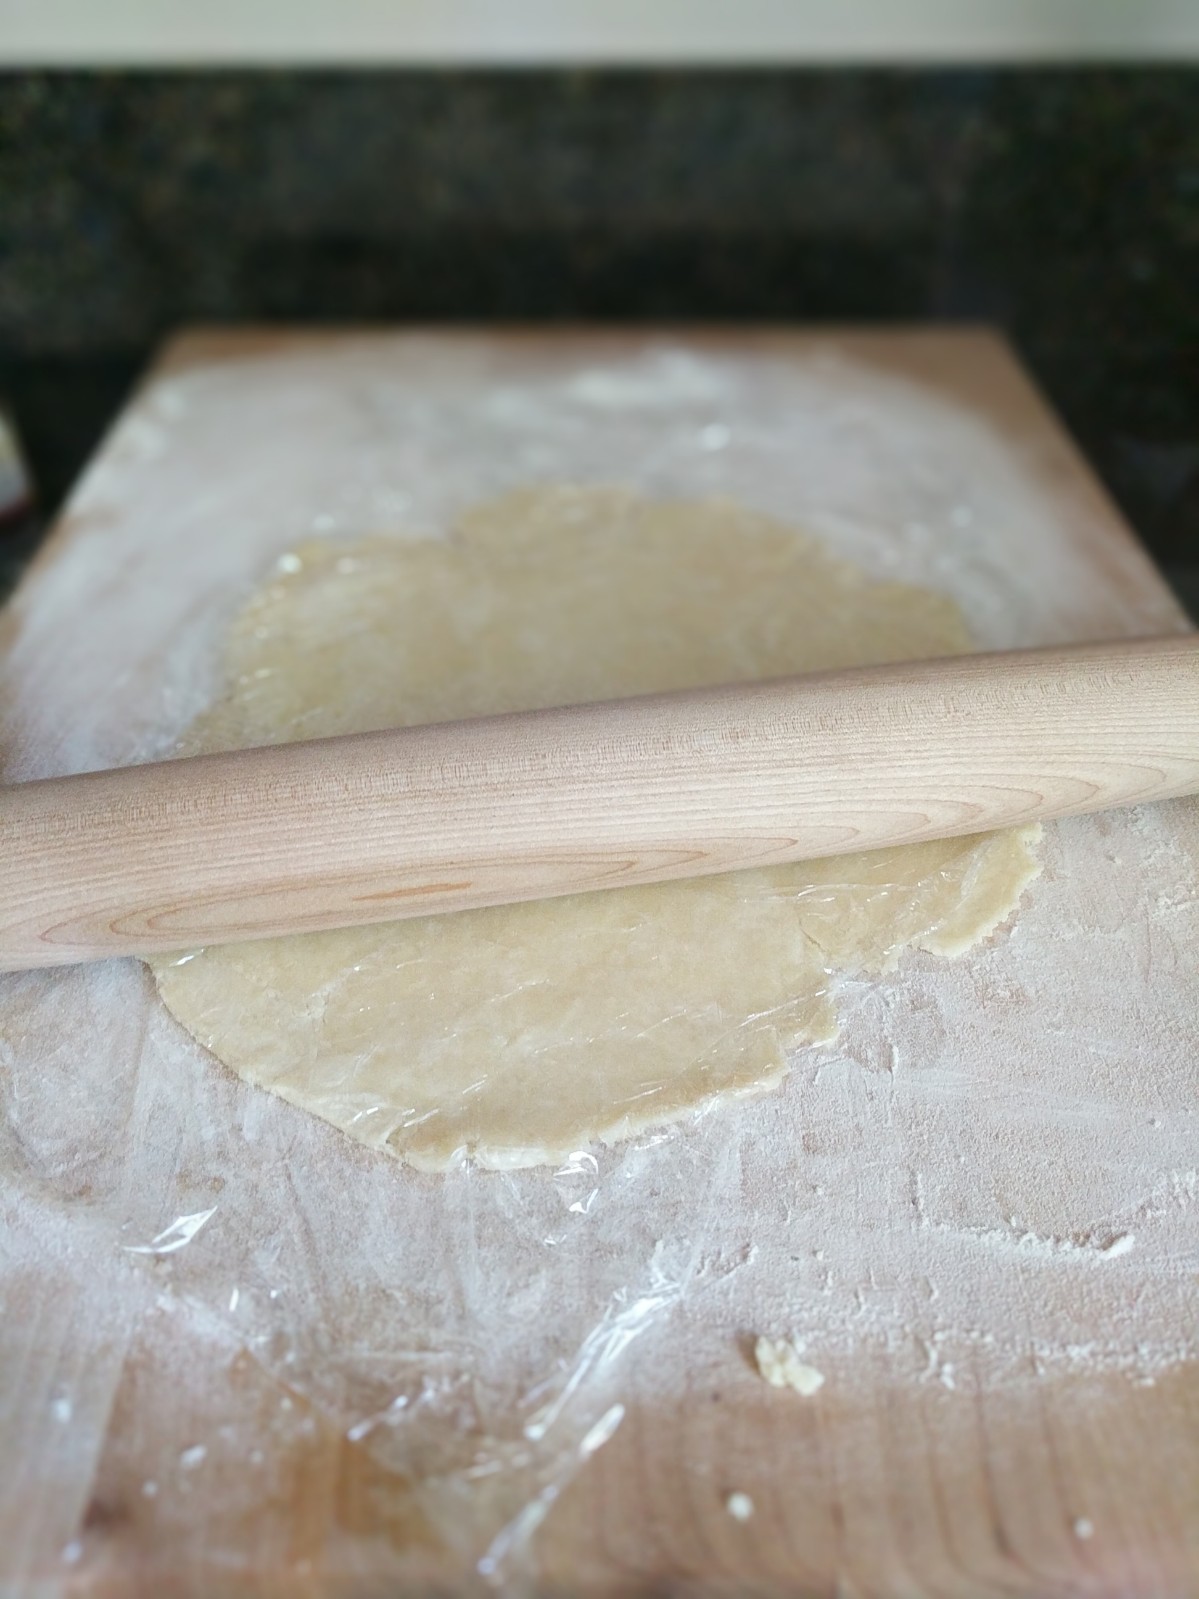
Straight from mama: Flip over, dust with a little flour, and put another sheet of saran wrap on top of the exposed dough. Roll so that dough is thin between the two sheets of saran wrap and at least 2” beyond the size of the pie pan you are using. Yeah, I didn’t read that end part too closely and didn’t roll the dough big enough. But it was ok for a first timer!
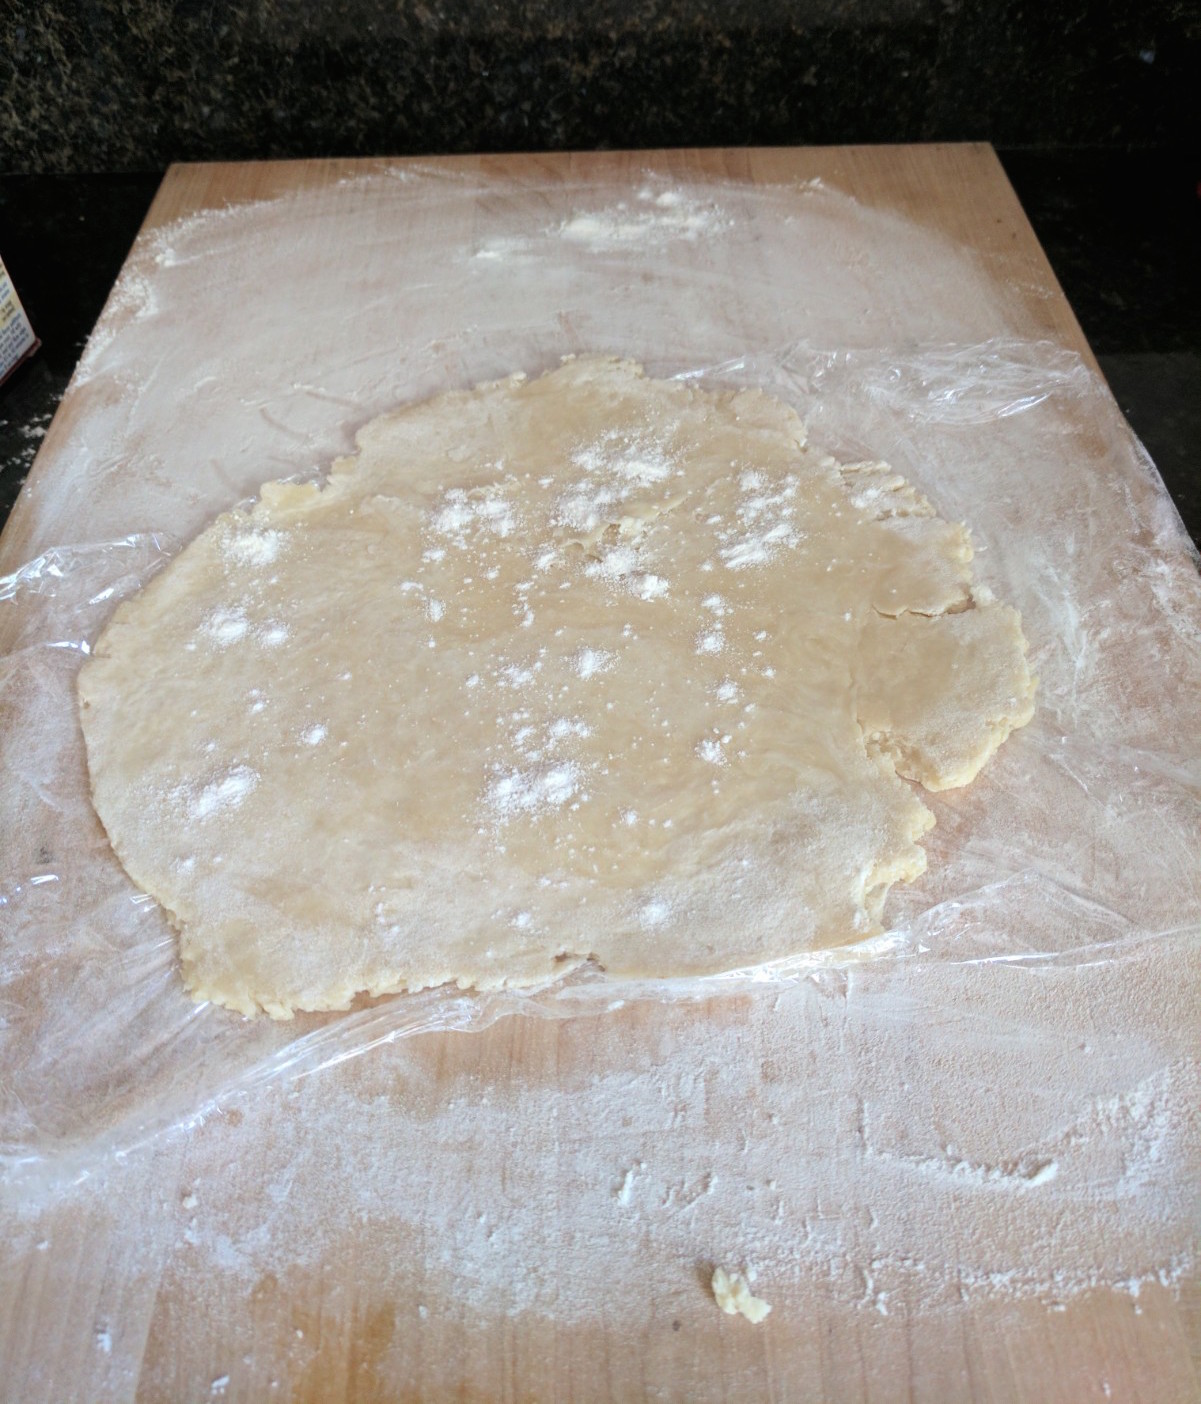
The saran wrap makes it SO easy to transfer to your 9” pie pan! As you can see, I didn’t quite roll the dough enough, but I decided just to stick with it and see what happens (stay tuned…).

Time to build your pie!! Start by sprinkling some of the sugar mixture on the bottom of the crust.

Now start layering the apples in! I always saw my mom do it this way, so I followed her example.

Now sprinkle with sugar mixture. Go heavy! I didn’t realize how much sugar was actually added to this and I ended up with a lot of extra at the end, so please learn from my mistake and go heavy with the sugar layers. You just keep repeating this process of sugar, apples, sugar until you reach your desired apple height!

This is when I ran out of apples and felt pretty good about it! I texted this picture to my mom in the process and she immediately knew it was going to bubble over in the oven since my bottom dough didn’t overhang the pie pan… smart mama!

Repeat the saran wrap dough process for the top of the pie and lay it on top. Pinch the edges together and voila!

My mom always added a little design (which also helps vent the pie) so I followed her lead.

Pop that pie in a 410 degree oven for 45-60 minutes.
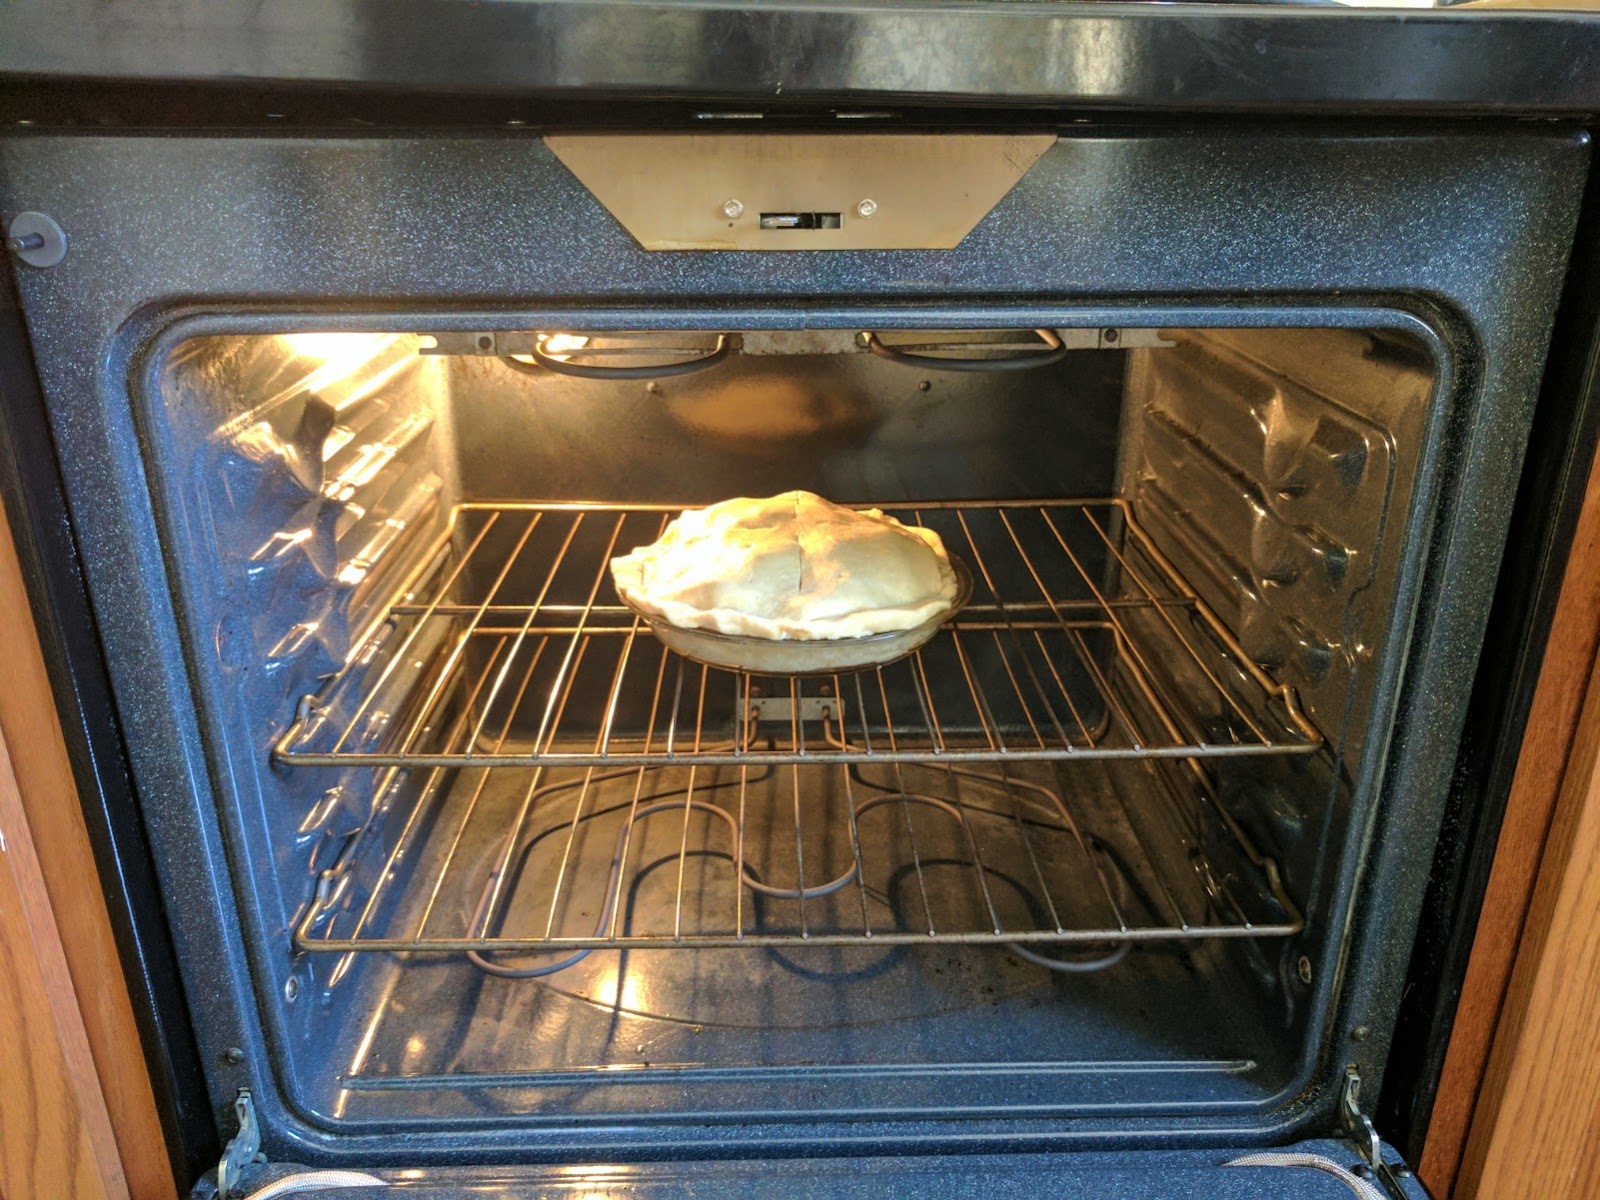
Mom tip: Slip a sharp knife into the center and it should easily enter the apple slice (if it feels hard, it’s likely not fully baked). If the crust is getting darker than you might want, turn the temp down. My mom was TOTALLY right and at about 45 minutes the pie was bubbling over from the sides (where the dough from top and bottom didn’t quite meet) to make a sticky mess in our oven (oops!).

Let it cool and serve with vanilla ice cream or whipped cream. A lovely couple we met recently invited us over for dinner and we brought this for dessert! It was a hit!

It was so fun to try this recipe and so rewarding when your guinea pigs have rave reviews! What a confidence booster!
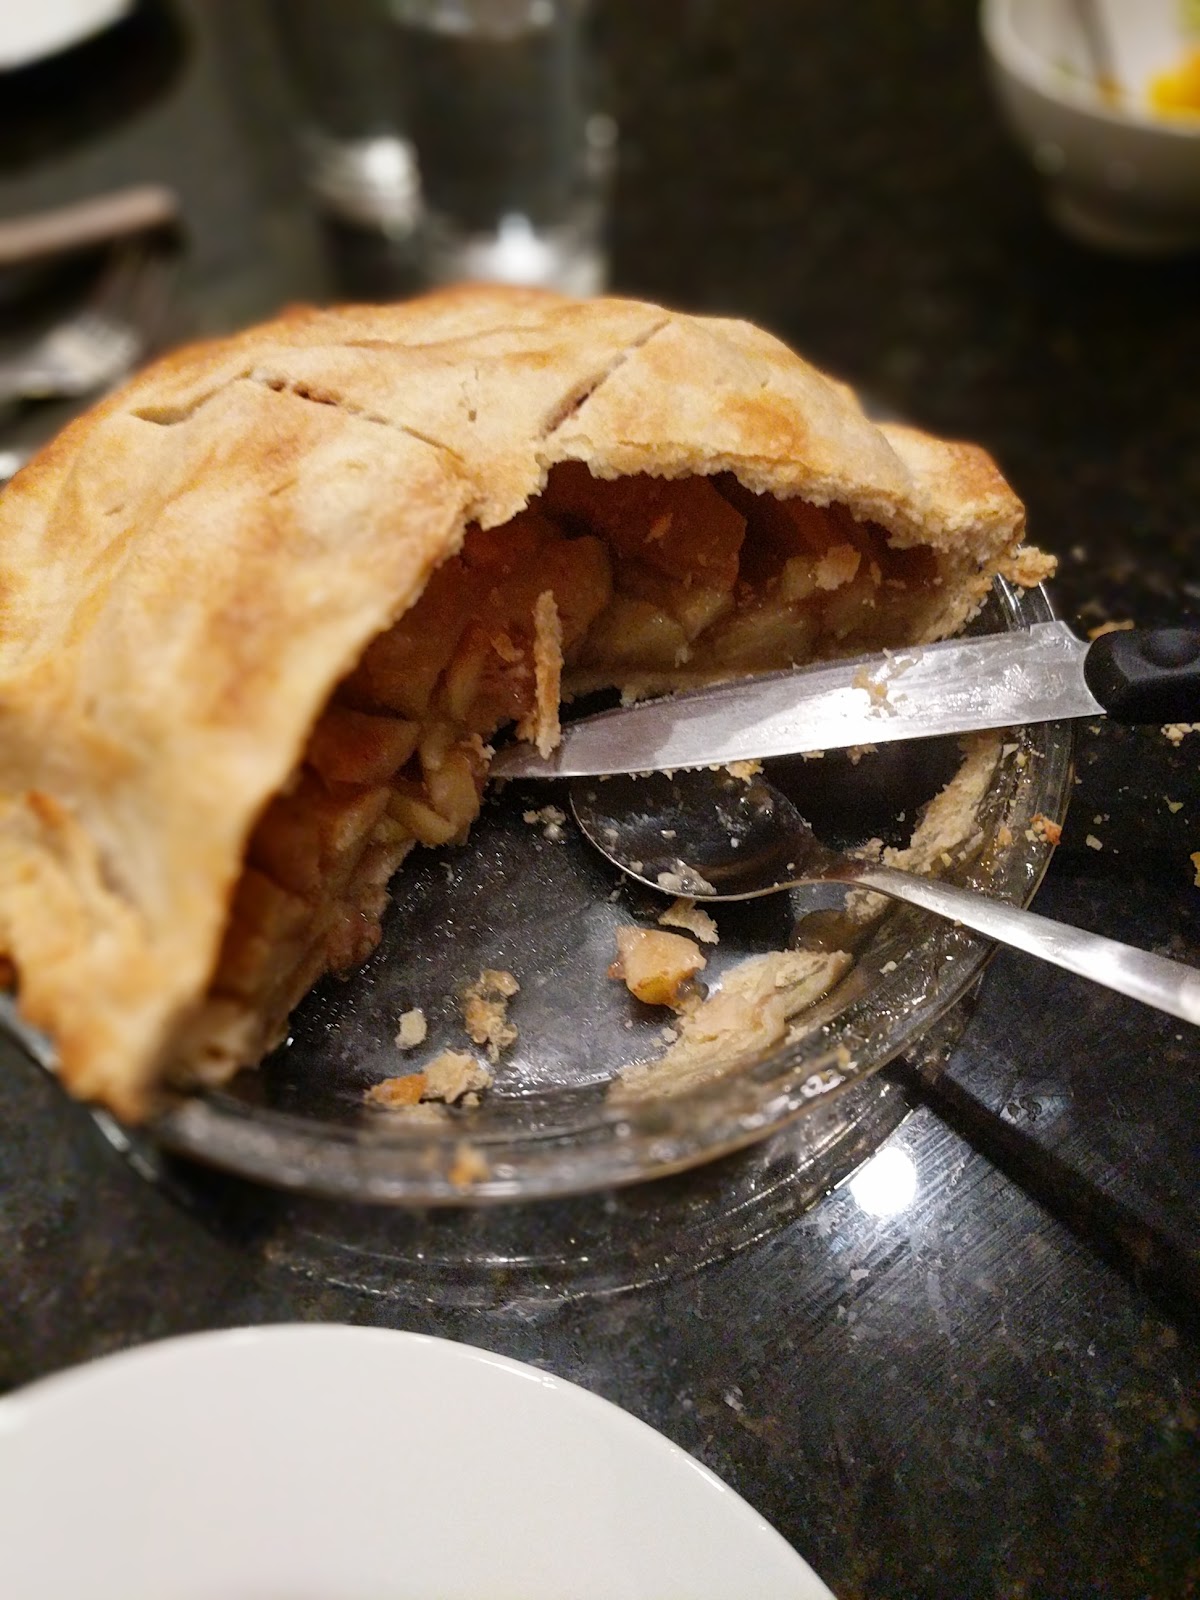
I felt proud of myself for attempting a more difficult recipe than usual. I felt proud of myself for making dessert and not trying make it the “healthy” version. I felt happy to make one of my mom’s cherished recipes and think back on the memories I have around my mom’s apple pie. Hope you enjoyed my culinary journey today!
Ingredients
Apple Pie Filling
4 cups granny smith apples; peeled, cored, and sliced
¾ cup sugar
1 tsp cinnamon
2 shakes nutmeg (great measurement mom!)
3 tbsp instant tapioca
Crust
2 cups white flour
1 tsp salt
⅔ cup + 1tbsp shortening
4 tbsp cold water
Directions
Make the apple pie filling. Wash, peel, core, and slice the apples. Set aside. Mix together sugar, cinnamon, nutmeg, and tapioca. Set aside.
To make the dough mix together flour and salt. Add shortening and cut it with a knife (do not mash, mix, or use a pastry cutter) into the flour mix. Add water one tablespoon at a time and gently mix with a fork until dough is formed and is just slightly sticky.
Cut dough into two even halves. Take one half and roll it into a ball. Flatten it on a lightly floured cutting board. Cover the ball with saran wrap then roll. Flip dough over (leaving saran wrap on), lightly flour the exposed side, cover with saran wrap, roll again until dough will overhang your pie pan by 2” all around. Transfer dough to bottom of pie pan.
Sprinkle the sugar mixture on the bottom of the crust. Layer with a row of apples. Sprinkle (heavily) another layer of sugar mixture. Repeat the layering process until you reached desired height with the apples, building in as you go.
Take the other half of the dough and roll it out as you did before. Place the rolled dough on top of the pie and pinch together the top and bottom dough pieces. Cut a few vents (or design) into the top of the pie.
Bake at 410 degrees for 40-60 minutes until crust is lightly brown and you can slip a sharp knife into the apple slices easily. Let cool slightly. Serve warm with vanilla ice cream or whipped cream.


