Veggies on veggies on veggies! I started making this salad when my husband said he wanted to have more raw veggies in our meal planning repertoire. I got the original ingredient list and salad dressing from this recipe on The Roasted Root, but have altered it a bit to my liking.
So tonight we set out on the superfood salad adventure! This recipe makes A TON so be ready to share with others and eat it ALL week (but not longer than 6 days because that’s about when it starts to get a little funky).
The recipe calls for maple syrup in the dressing and I hesitate to add it in. I’ve labeled sugar as a “bad food” for so long that even adding it to a salad brings anxiety and shame and guilt. But this my journey to break free from my “bad foods” list. So maple syrup I added! All of it.
Start by washing and drying all of your veggies. I chose to start with carrots tonight, but the order really doesn’t matter. Two things I’ve learned about making this salad:
- Cut the veggies roughly the same size before you put them in the food processor
- Pulse each type of vegetable individually in the food processor for best results
Look at these lovely carrots!

Throw them in the food processor. We have this food processor and it’s fine.

And pulse and pulse and pulse until you reach your desired coarseness.

Throw it in the BIGGEST bowl you’ve got! (Thanks mother-in-law for this one!)

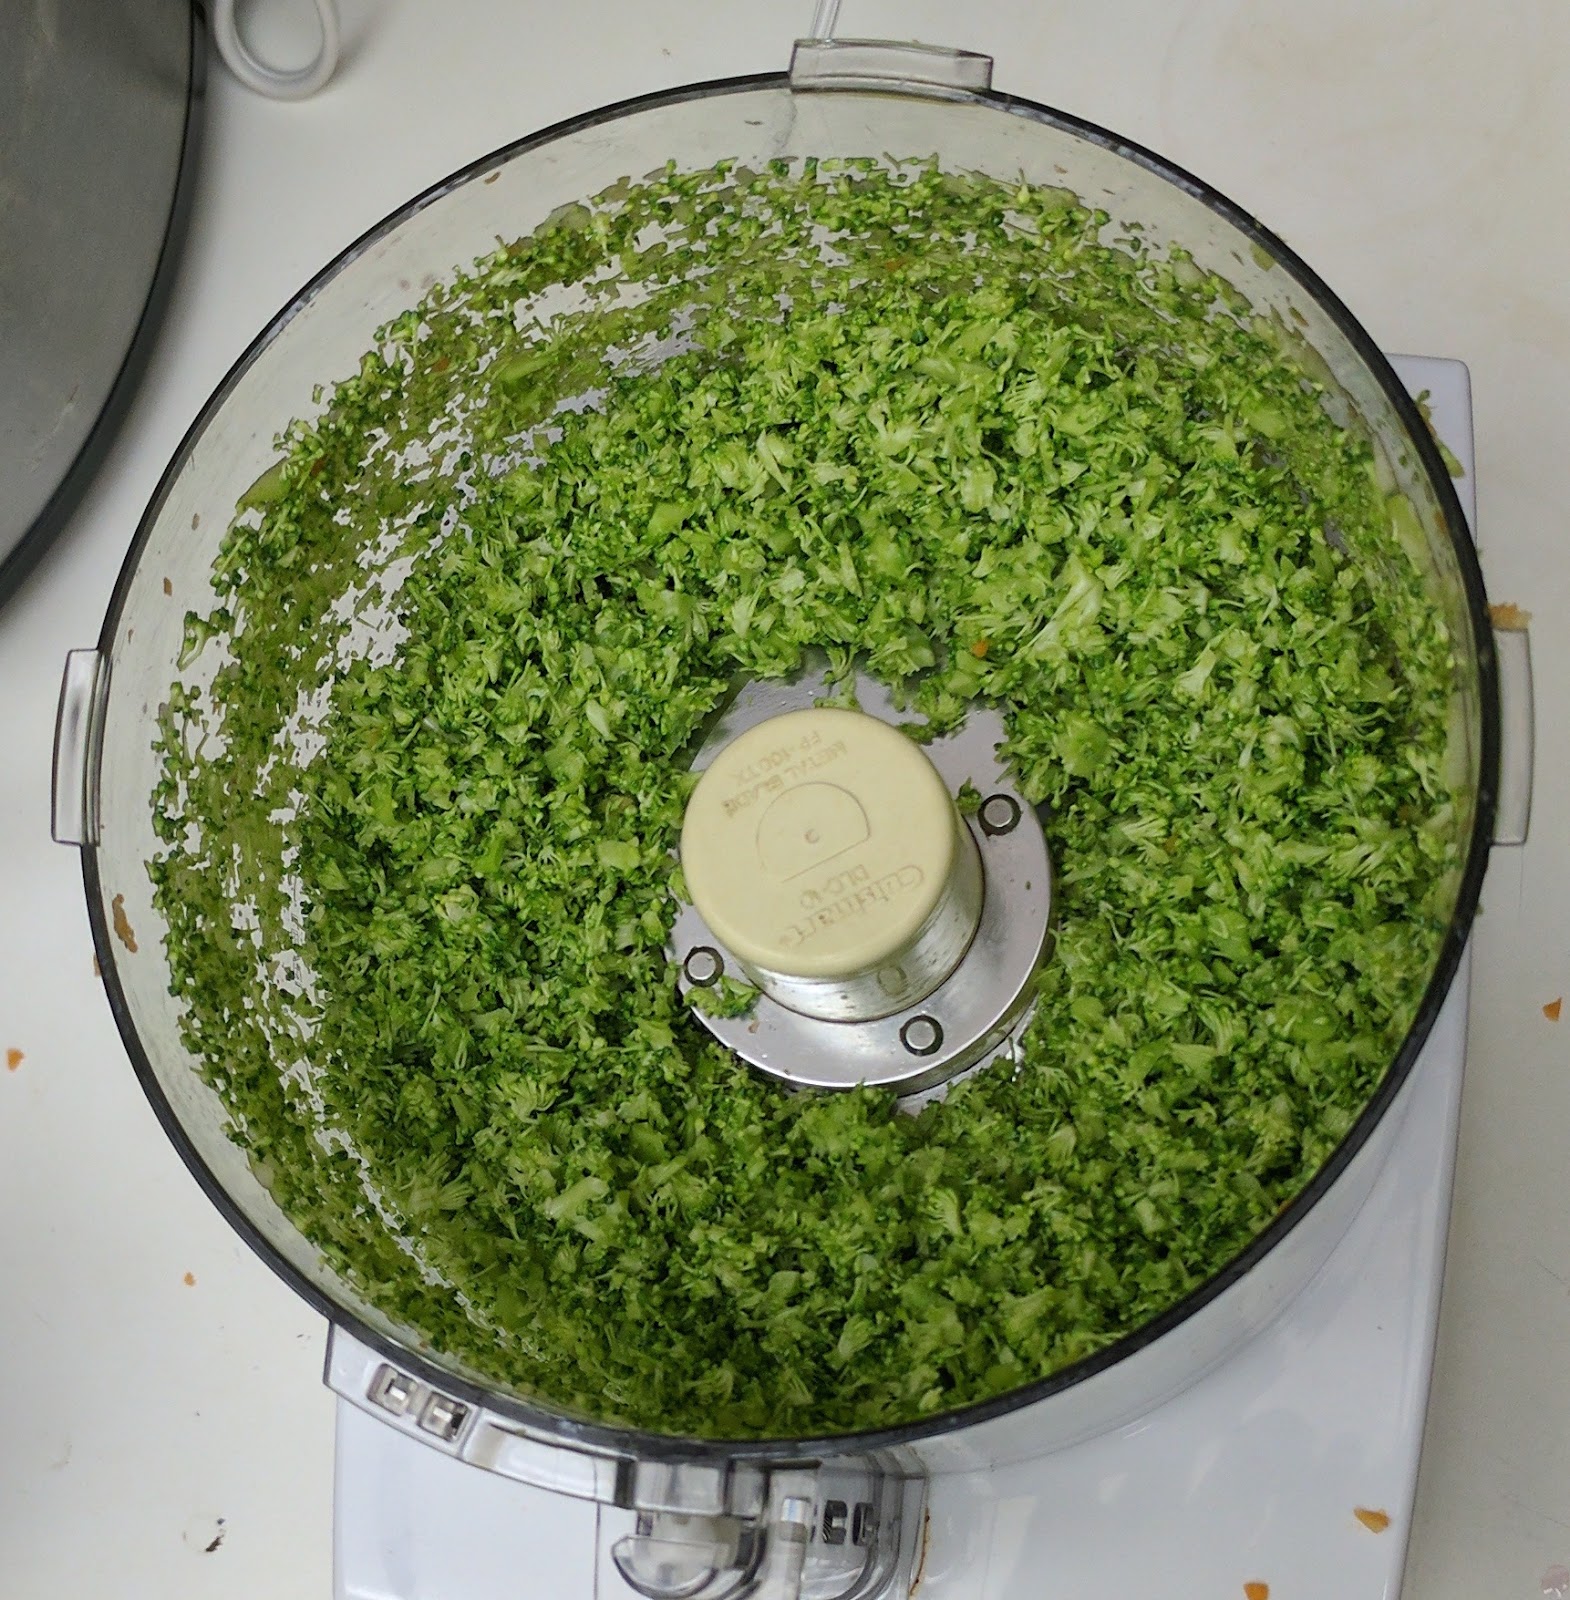
For the broccoli I like to separate the stems from the florets as much as I can. I have found this to make for easier food processing.

Place the stems in the food processor, pulse, empty.

Tada! Place the diced stems in the huge mixing bowl.

Now repeat with the florets.

And tada again! Place the dices florets in the mixing bowl.
Next up, those pesky beets! Clean up quick… They stain fast! Peel the beets and give them a rough chop before placing in the food processor. Then pulse and pulse and pulse!

Empty the beets in the mixing bowl and move on to the cabbage. I peel off the outer layer of the cabbage and then rinse. Give the cabbage a rough, but even chop.
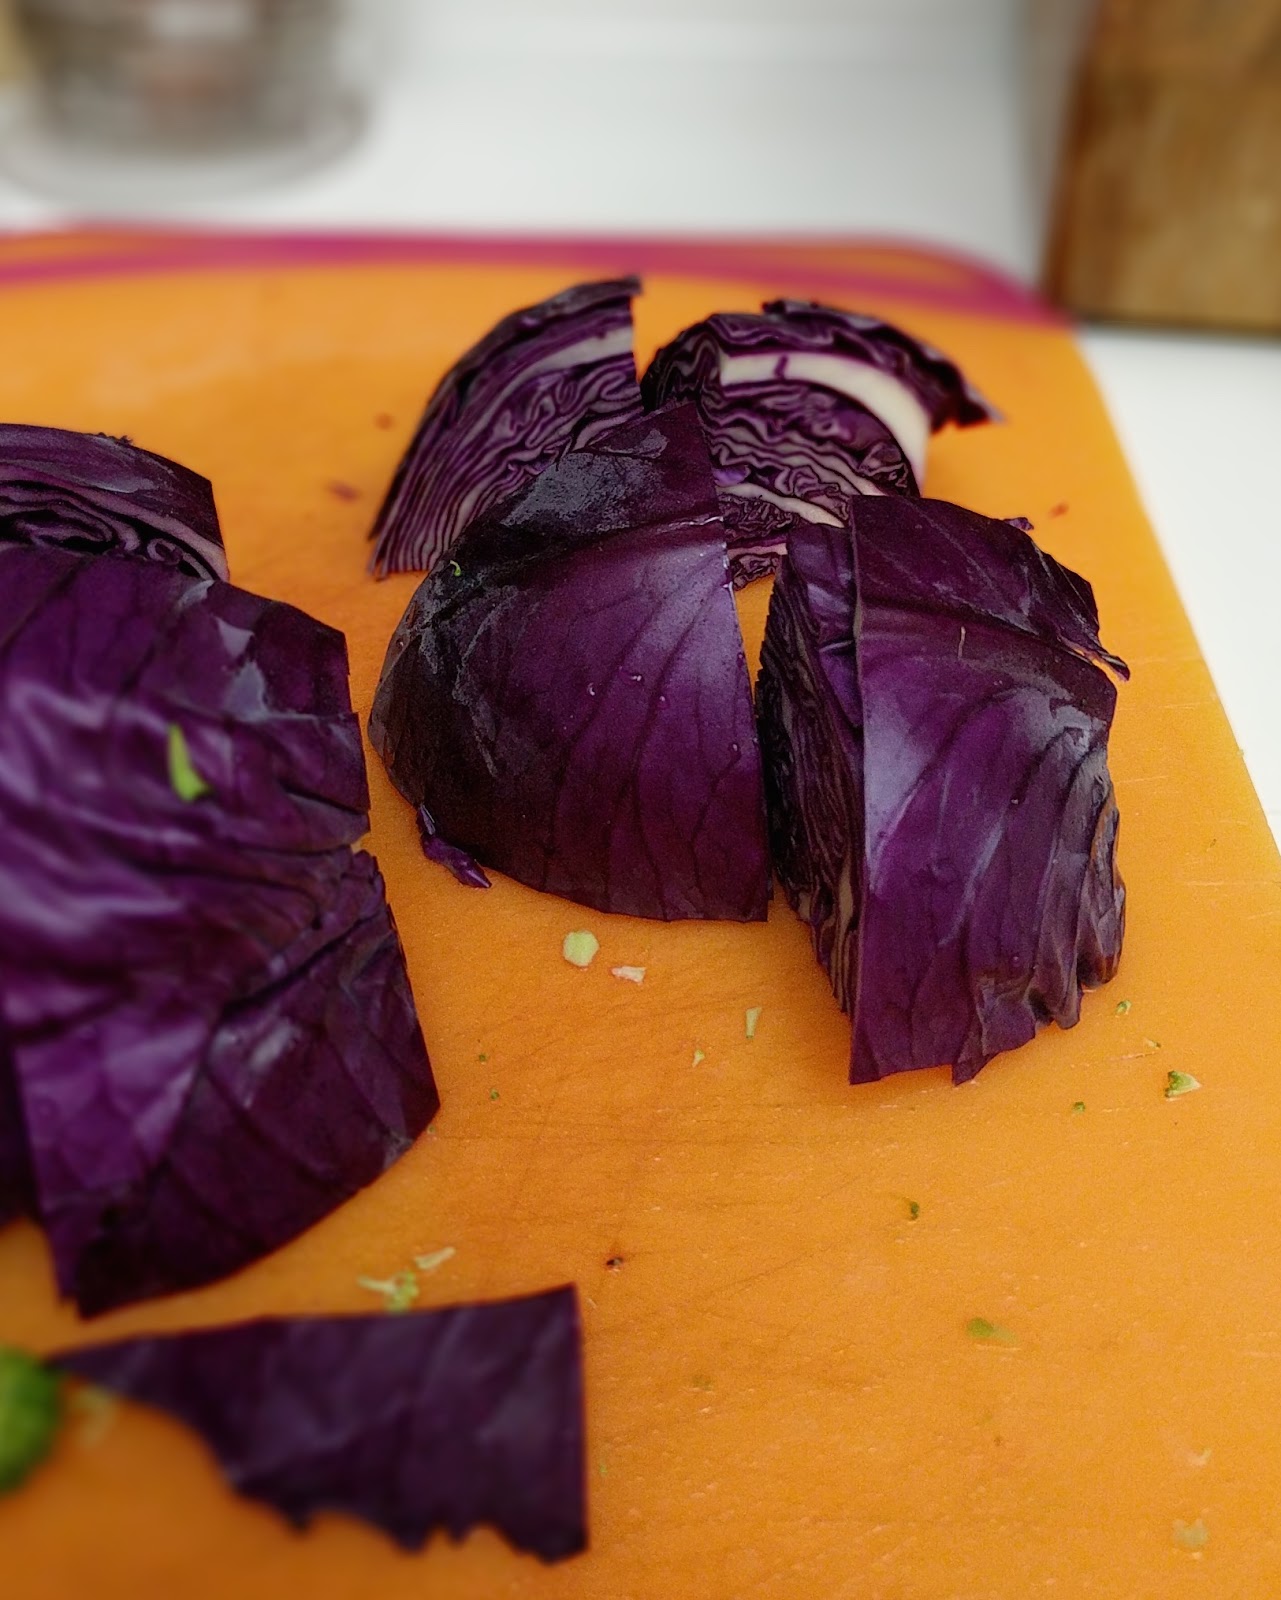
Watch out for the harder middle core. I just toss it. It messes up the evenness of the food processing (just a little OCD over here).

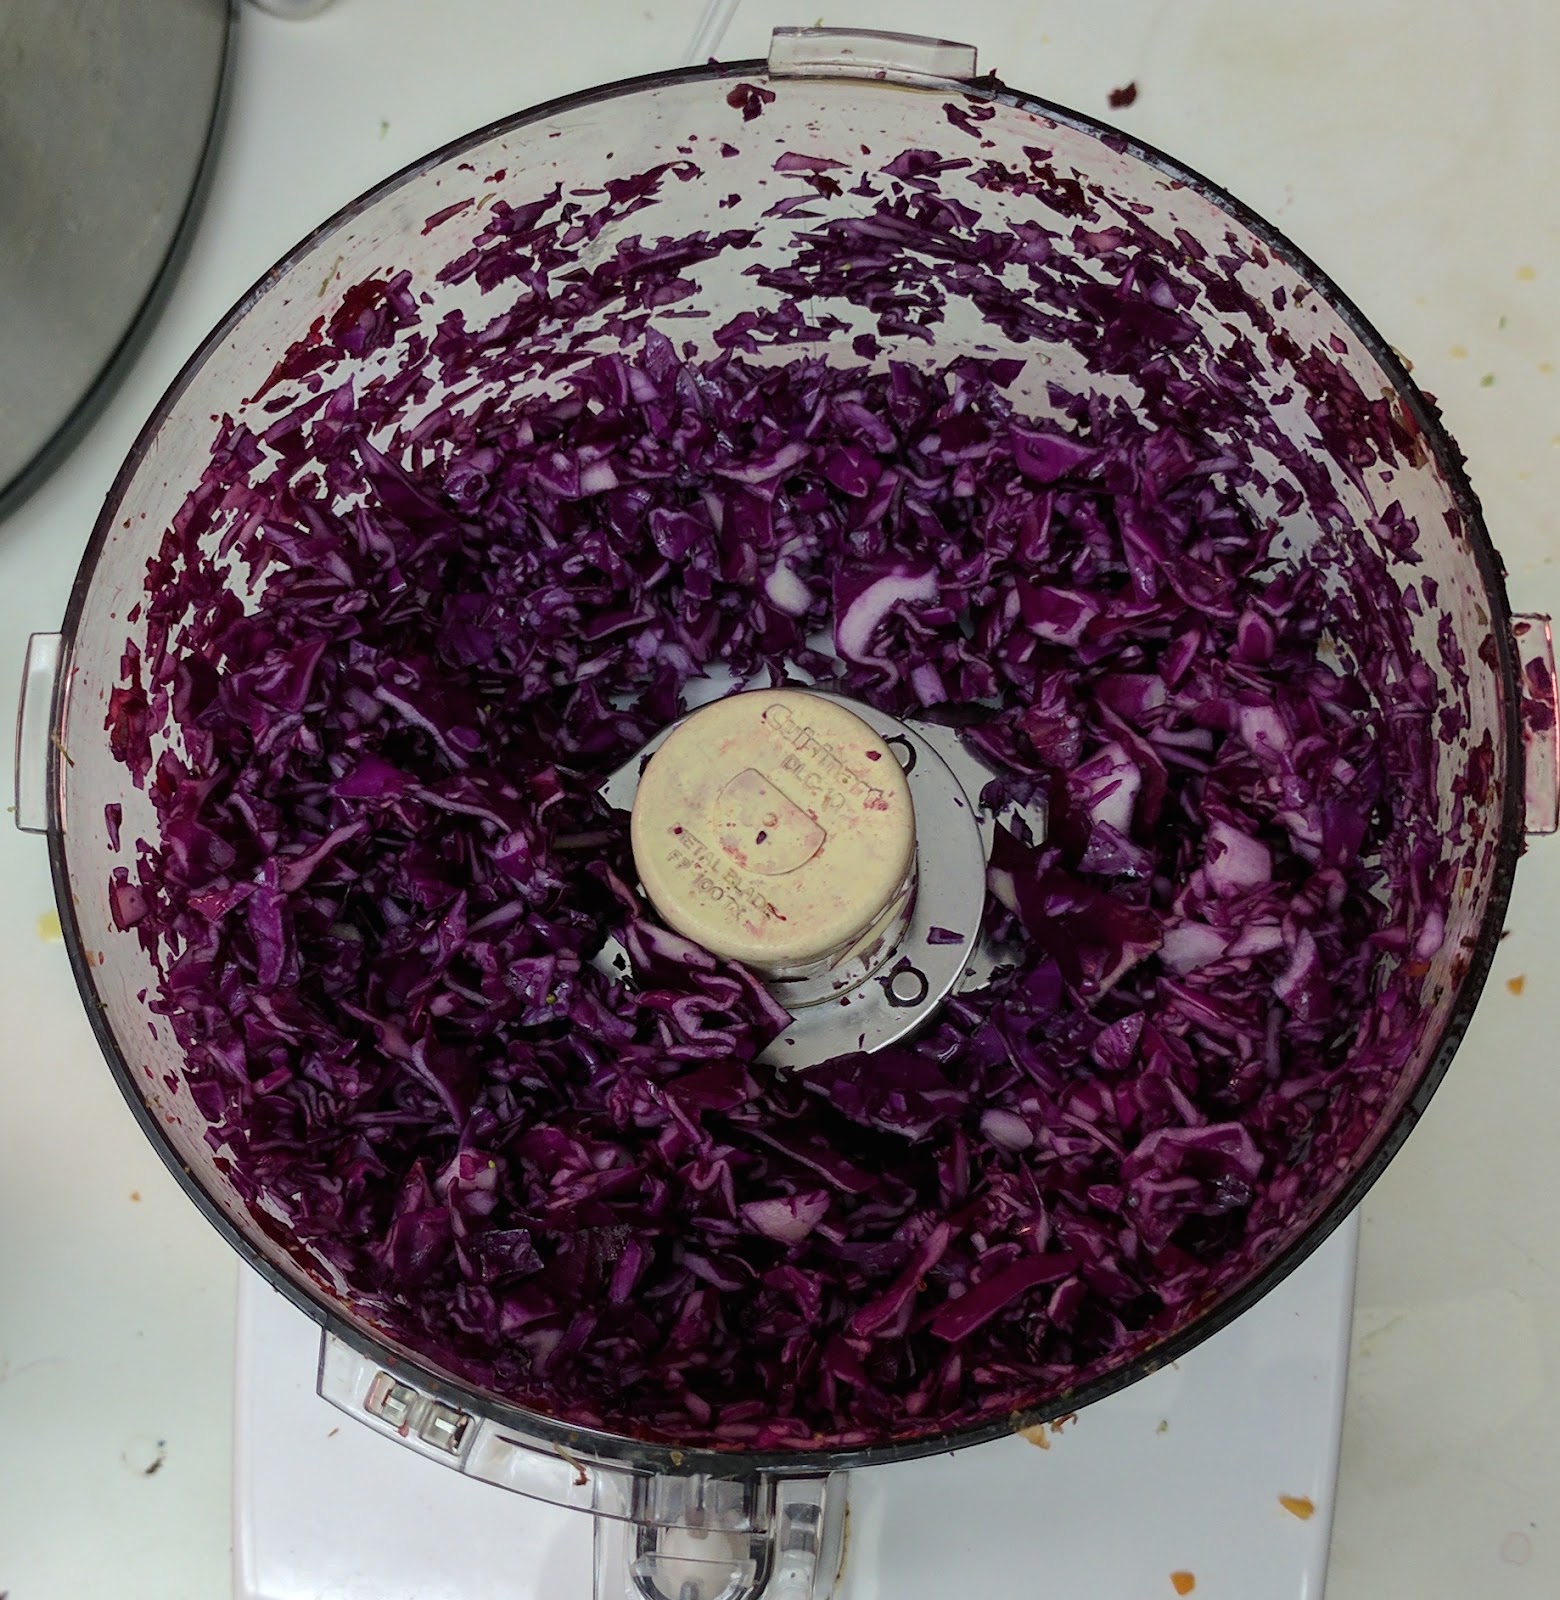
And pulse and pulse and pulse. But not to much! The cabbage goes quickly!
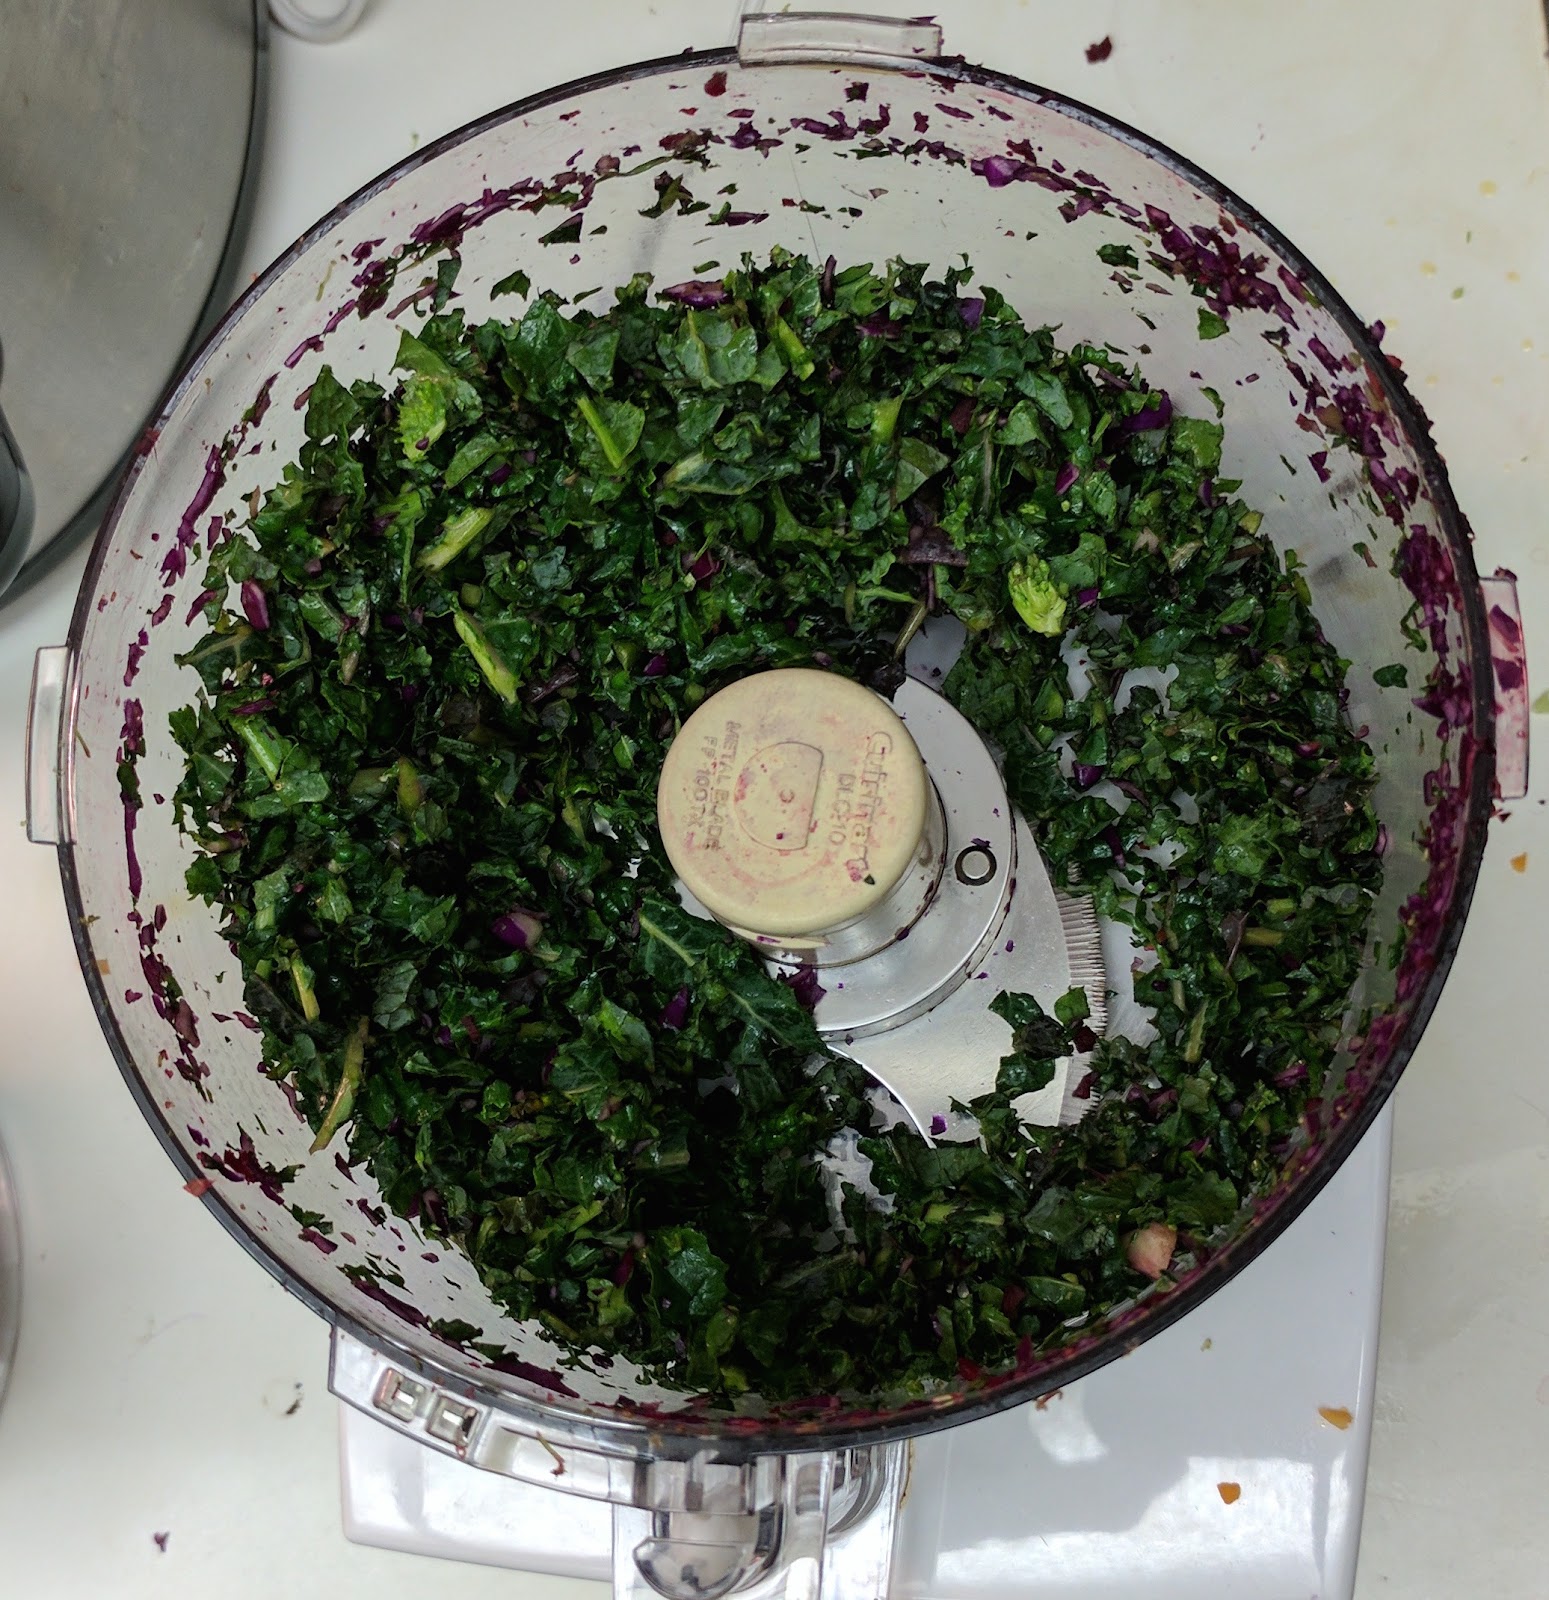
All hail kale! Get in my food processor! I did two rounds of the kale.
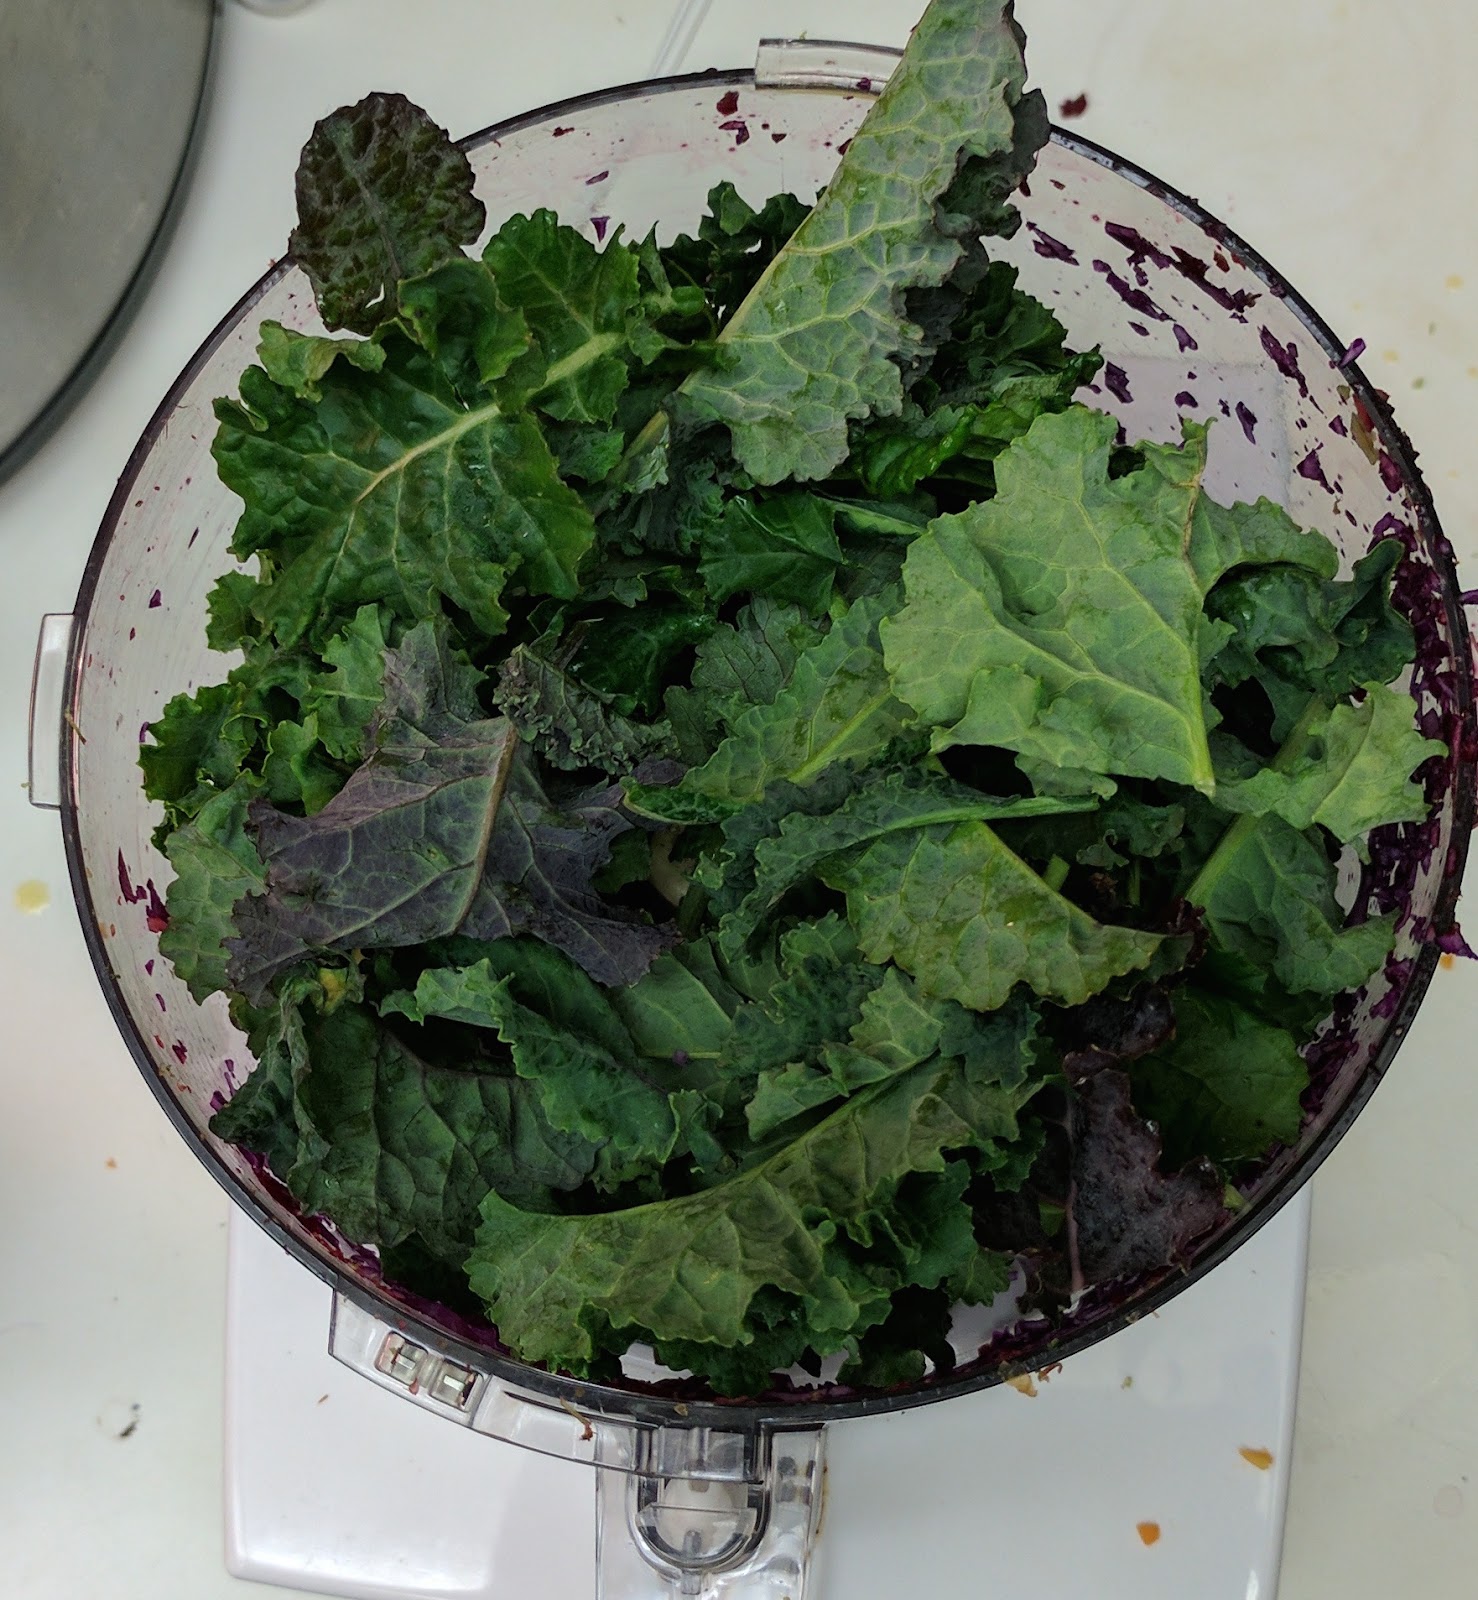
Diced and lovely!
Mix up the bowl of awesomeness and marvel at the beautiful colors!
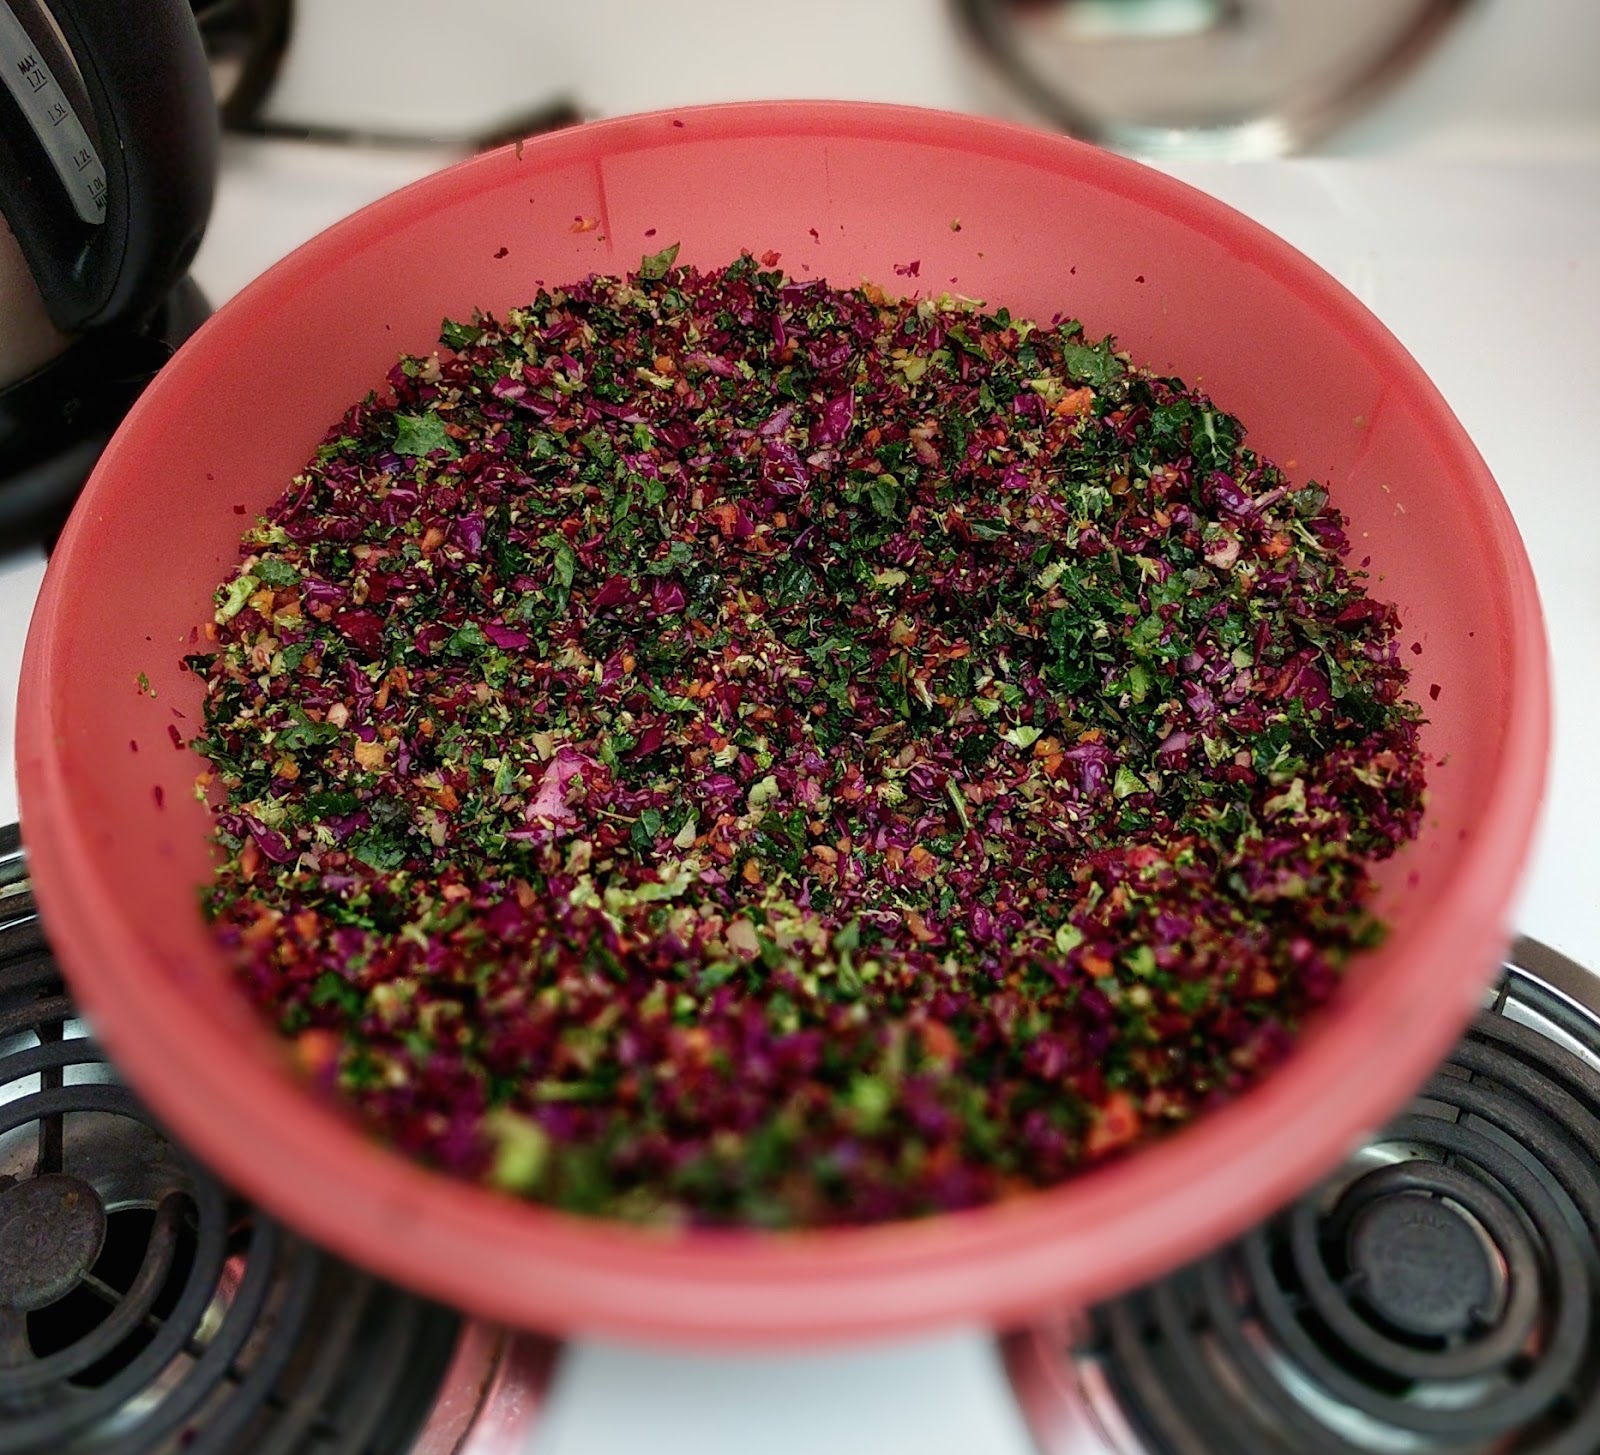
Add the dried cranberries and toss again.
Now it’s time for the dressing. Mix all the ingredients into a small mixing bowl or use a salad dressing shaker. My mother-in-law had this OXO Salad Dressing Shaker and the thing is AMAZING! Get one! Now!
Before...
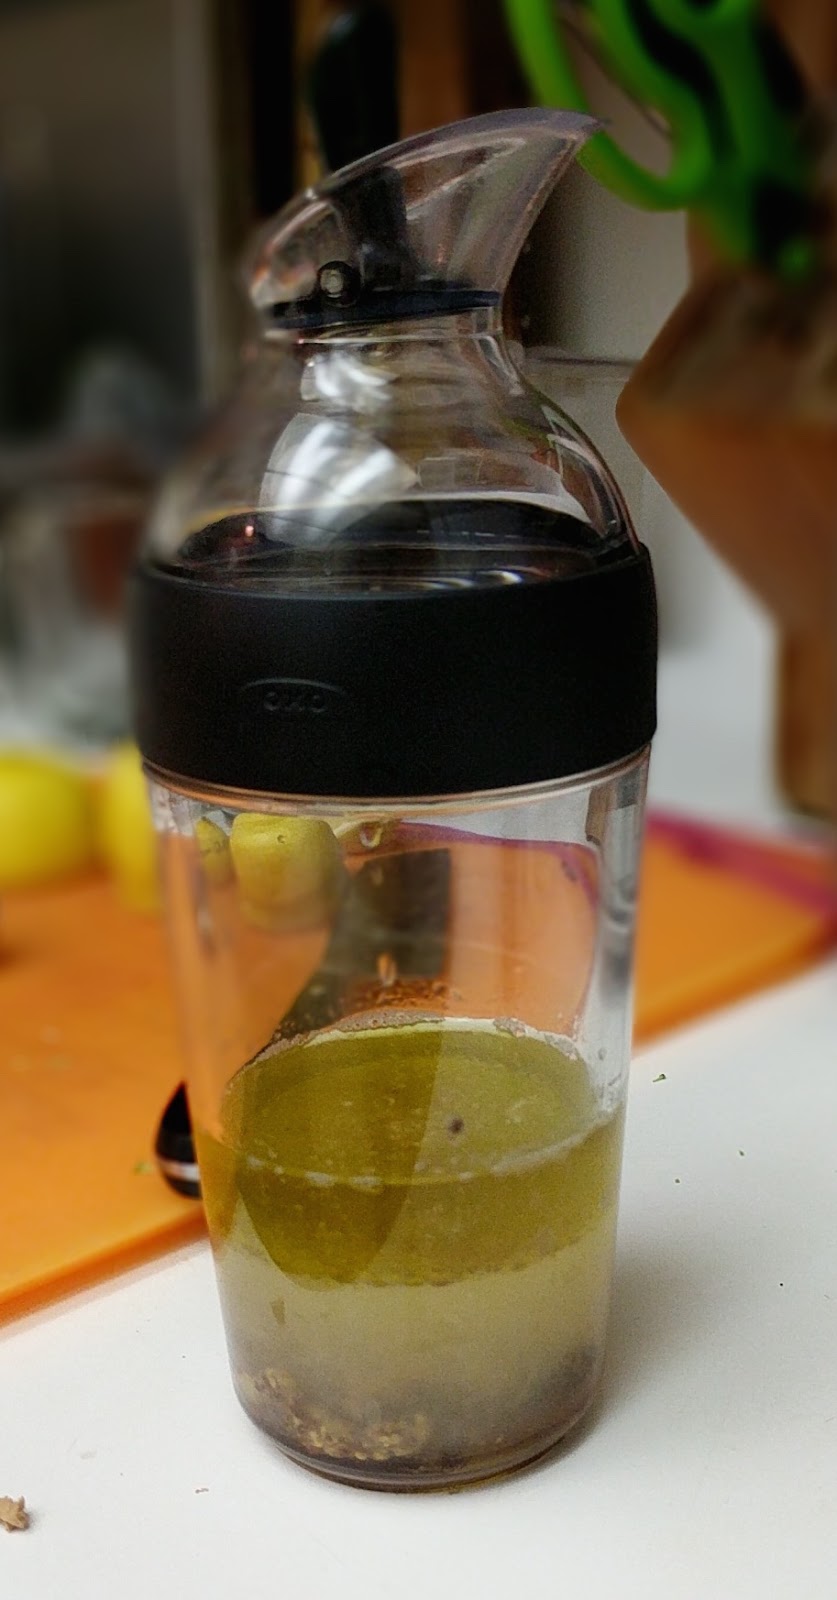
After some shaking…

Pour all of the dressing over the salad, toss. Then serve or store. I love that you can add the dressing when you make this salad and don’t have to worry about adding it later when you take it for lunch!
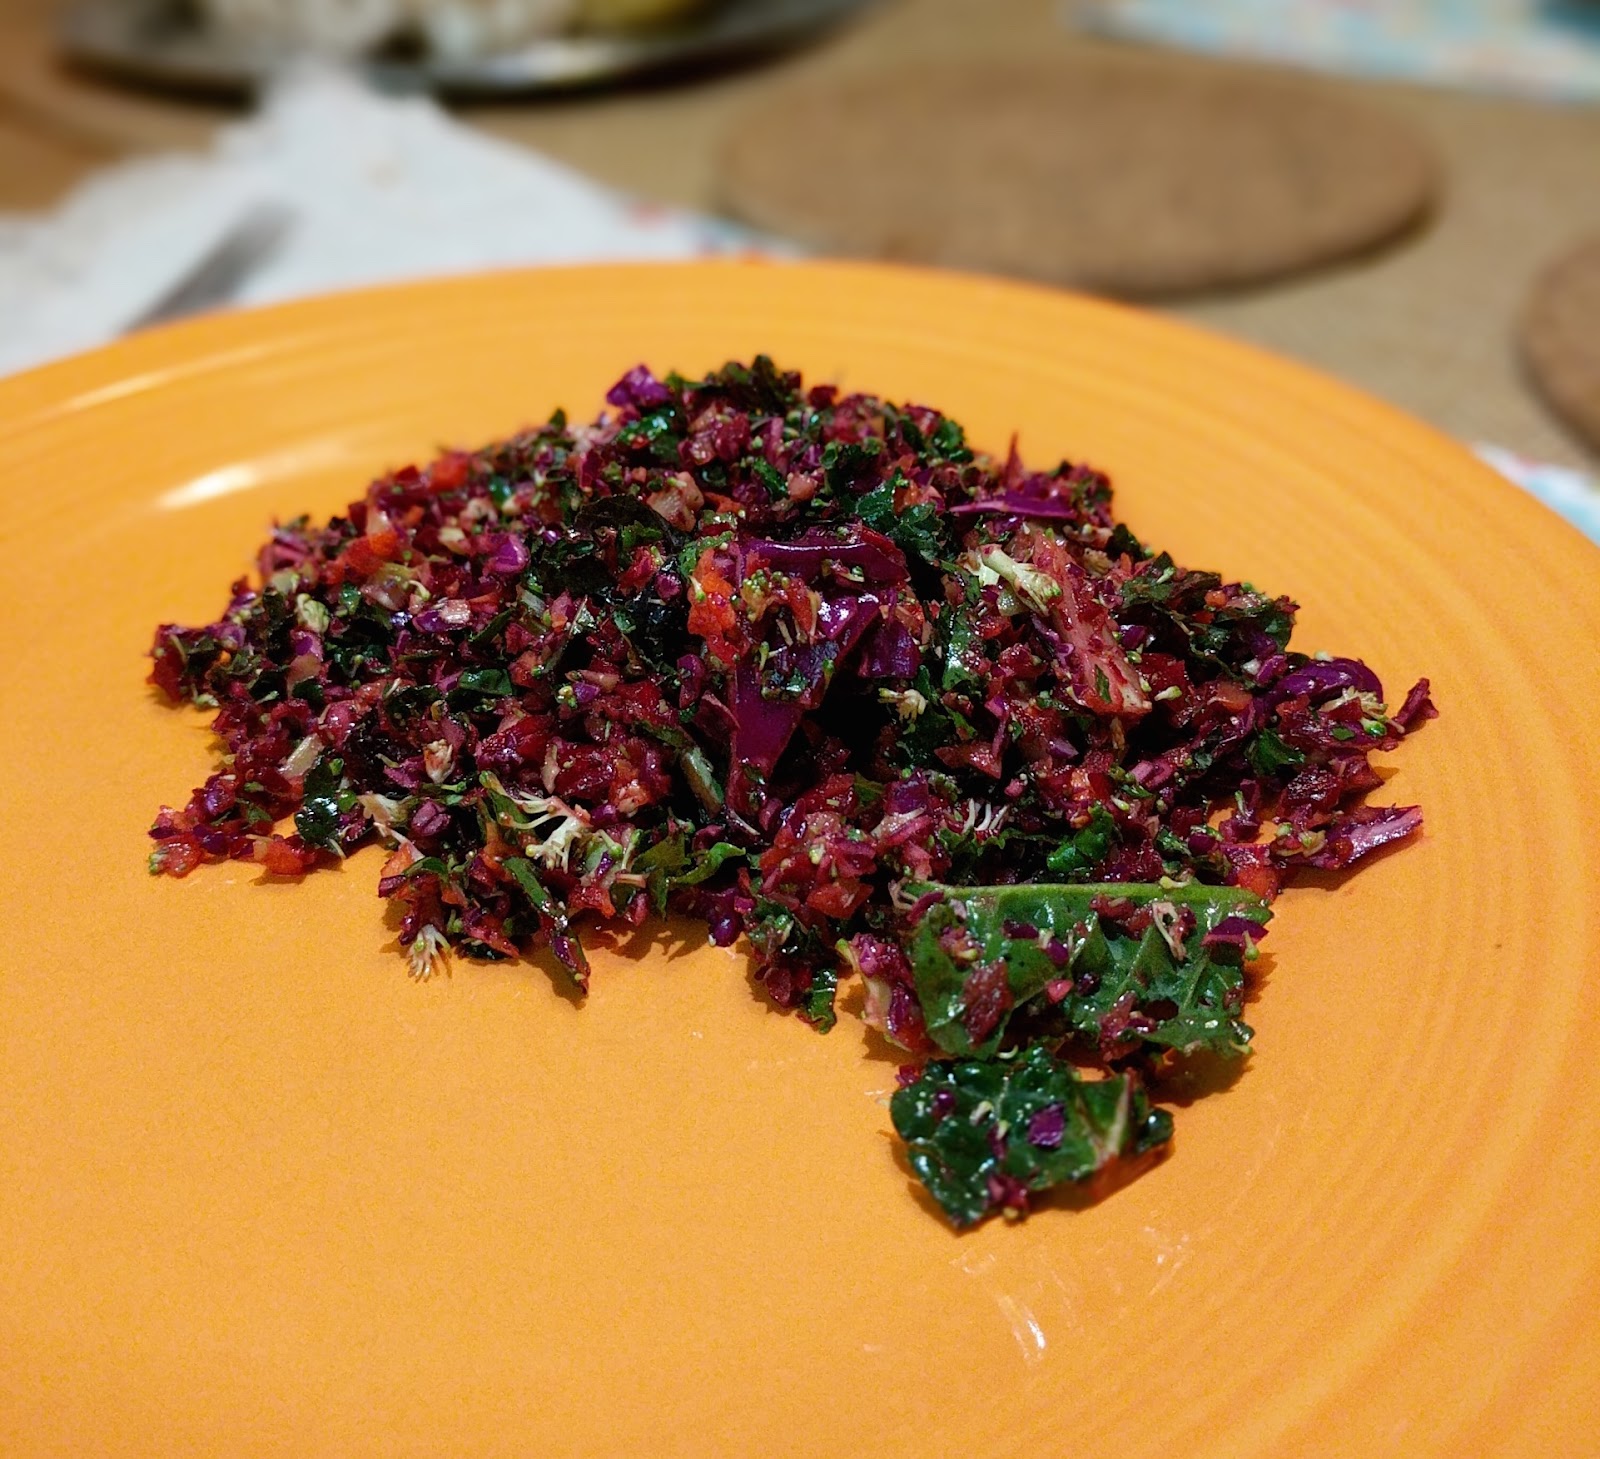
Enjoy your veggies!
Salad
Carrots (2 is good)
Broccoli (2 heads would be good)
Beets, peeled (2 is good)
1 Small head of Red Cabbage
Kale (about 4 handfuls)
⅓ cup Dried Cranberries
Additional ideas: I’m sure brussel sprouts would be good, apple, mango, etc. Get creative!
Dressing
¼ cup Olive Oil
Juice of 2 lemons
1 tablespoon Fresh Ginger, Peeled and grated (or ¼ tsp ground)
2 teaspoons Whole Grain Mustard
2 teaspoons Pure Maple Syrup
Sprinkle of salt
Directions
Wash and dry all of your veggies. Pulse all veggies individually in a food processor to desired coarseness. Mix in a large bowl. Add dried cranberries. Mix all ingredients for dressing and pour over salad. Mix well.
Storage
I have found this salad keeps well for about 6 days (with the dressing on it!), but that’s the max. Sometimes I add more lemon juice and touch more maple syrup towards the end of it’s days to brighten it back up.Your Journey
What's your favorite way to eat raw veggies? Comment below.